**NOTE** ONLY YOU CAN ASSESS YOUR ABILITY TO PERFORM THIS TASK. THIS IS A GUIDE AND CANNOT PROVIDE ALL OF THE DETAILS FOR EVERY SITUATION.
We will look at installing a metal duct system (for flex ducts, click here) in a new single story home with a basement. After you understand the process, it can be adapted to any type and size of home. You will need some basic tools to perform your air duct installation. Most of them are inexpensive and easy to learn how to use. The air duct installation process begins with proper hvac duct system design. This is a computerized process of determining the size of hvac equipment for the home as well as designing the duct system. The result is a duct layout plan which shows the size and location of ducts and registers for each level of the home.
Metal Duct
"Rough-in"
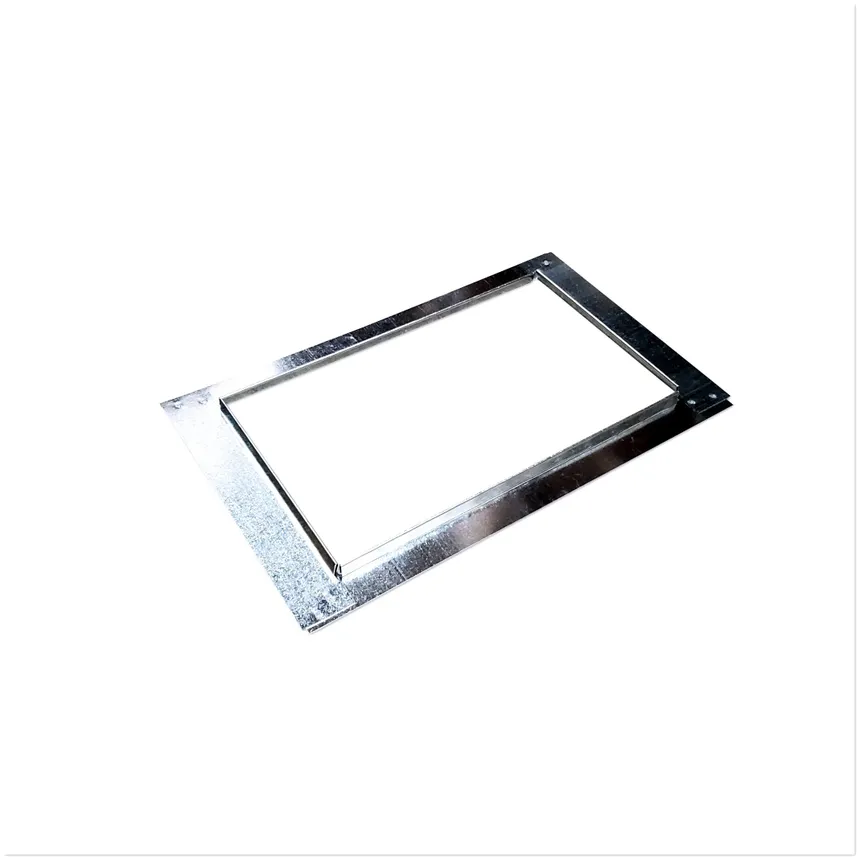
Once you have your duct plan, the "rough-in" stage of air duct installation can begin by cutting holes in the sub floor for the ducts and registers. The size and location of supply registers is shown on the duct plan. It is a good idea to keep the holes, for the supply registers, about three inches from the wall. The holes should be centered between the floor joists if possible. The holes for the return air are usually cut through the bottom plate of an interior wall and through the sub floor. A metal frame called a plaster frame is installed on the wall to make it easy to cut the drywall around the return air opening. It should be mounted about three inches from the top of the wall.
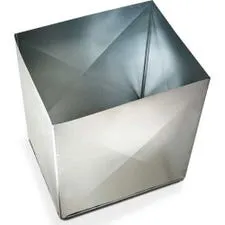
After the holes are cut, the furnace/air handler and evaporator coil should be set in place. You can use our furnace installation guide to show you how. Next, the plenum is attached to the outlet of the evaporator or the furnace if you do not have a central ac system. The plenum is a metal box with one end open and one end closed. They usually are shipped in pieces and have to be assembled. This allows the supply ducts to be connected to the furnace.
Once the plenum is installed, the square take-off collars can be installed. These fittings are attached to the plenum by cutting a hole and then inserting the tabbed portion in the hole. The tabs are bent over and metal screws are added to hold them in place. The collars should be installed so that the top of the duct that connects to them will be just below the bottom of the floor joists.
Installing the main trunk lines
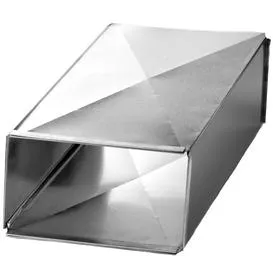
The supply air duct installation continues by connecting the metal ducts to the start collars. As the square ducts are installed, it is a good idea to measure and cut holes in the top of the duct for the branch duct takeoffs. These branch duct takeoffs will be fittings that are attached to the top of the main duct and they fit in between the floor joists. Their base is square and their outlet is round. Like the main duct takeoffs, they have metal tabs to bend over to connect them. A screw should be added to each corner to make it secure. Periodically, a piece called a transition will be installed. This piece is used to go from one size of duct to a smaller size. The ducts are supported about every eight feet with metal hangers. The ducts are connected to each other by a system known as "s" and "drives". "S" cleats are pieces of metal that are folded over themselves to make a slot for two ends of separate ducts. Each duct slides into a separate slot. They are usually installed on the top and bottom of the piece of duct. "Drives" are pieces of metal folded over on themselves and they slide on the sides of the duct to hold them together. Tabs on the drives are bent over after installation to hold them in place. At the end of the supply duct, a piece called an end cap will be installed. The process is repeated for the other main supply ducts. The basement should have its own supply and return ducts. The branch ducts should be connected to the registers with a small piece of flexible duct when a dropped ceiling is used.
Installing the branch supply ducts
The air duct installation process continues by installing the branch ducts. These are usually round pipes that are attached to the takeoffs on the top of the main duct. The pipe is snapped together and installed starting at the main duct. The joints are screwed together using three metal screws. The ducts are supported by brackets at about eight foot intervals. The final piece for a particular branch duct is cut to length and an elbow boot is attached to it. The elbow boot is a fitting that changes the round duct into a square duct and accepts the register. The boot is installed in the hole in the subfloor and nailed flush with the top of the floor.

Air Duct Installation, The Return Air Ducts
The next part of the air duct installation process is connecting the return air system. It starts with a return air package. This consists of a metal elbow that has a slot in it for the air filter, duct to connect it to the main return air duct and a start collar. The main return air duct usually has one end capped and the other open. It is put into the proper position and held by metal brackets. The metal elbow is connected to the furnace air inlet using the tabs and screws. The duct is connected to it and the start collar is mounted to the main return air duct. The final piece of duct may need cut to length. The main return air duct is connected in much the same way as the supply duct. At the appropriate places, holes are cut in the top of the duct to allow for connection to the branch ducts. The branch ducts are usually the spaces between the floor joists. Pieces of metal, called panning, are attached to the bottom of the joists to create a closed duct. At the supply duct, the panning is attached to the supply duct. On the opposite side of the main duct the joist space is closed off with panning. Finally, the end of the joist space is closed in with panning when you get past the return air holes that were cut into the subfloor.
This completes the "rough-in" phase of the job. At this point in the air duct installation, you should temporarily cover the holes in the subfloor to keep dirt and construction debris out.

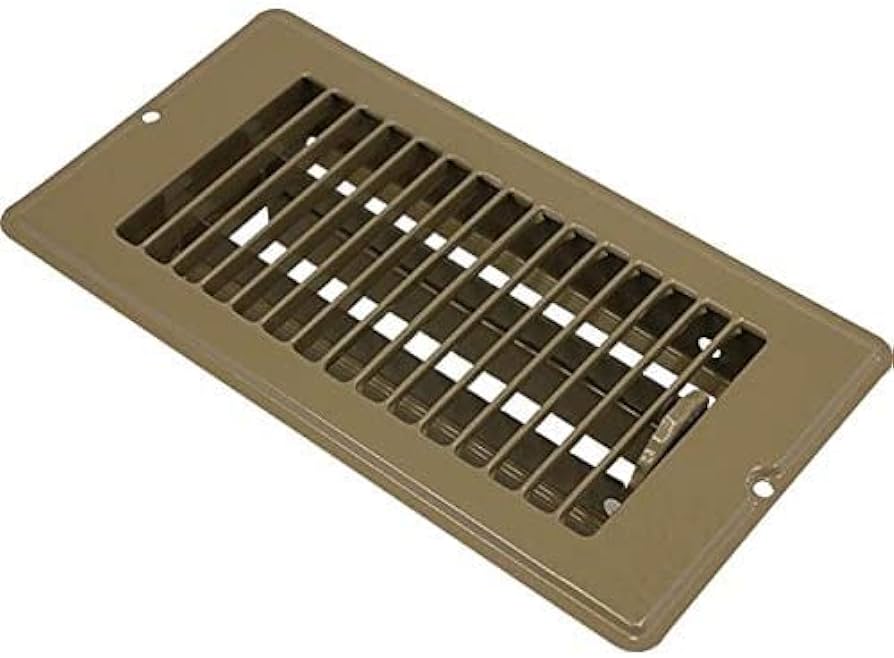
The air duct installation will be finished after the drywall is installed and painted. The return air grilles can be mounted on the walls and the floor registers installed at that time.